Do you think making a podcast requires a fancy studio and a lot of money? I used to think so, until I realized that all I need is a phone in my hand and a free hosting platform to have my first podcast episode. Don't let technical fear stop you from sharing your story. This article will dispel all worries, guide podcast starting from the beginning of the device and hosting in the most practical way, helping you go from zero to successful broadcasting.
Podcasting equipment: Don't overcomplicate, start with what you have
Thiết bị làm podcast cơ bản cần những gì? Bạn chỉ cần một thiết bị thu âm (điện thoại hoặc micro USB), tai nghe để kiểm âm và một không gian yên tĩnh là đủ để bắt đầu kênh podcast từ con số 0.
Many of you often text Pham Hai asking about the cost of starting a podcast and are often panicked when you see lists of equipment worth tens of millions of dong online. My 10 years of experience in the audio and digital content industry shows: start small.
Don't rush to invest in an expensive home recording studio when you don't know whether you will pursue this subject long term or not. We absolutely have cost-saving solutions, even 0 VND for the first broadcast episodes. Below are 3 equipment roadmaps from basic to advanced that I have summarized.
"0 VND" Package - Start right away with your phone
Làm podcast bằng điện thoại là cách nhanh nhất và hoàn toàn miễn phí, tận dụng ngay micro tích hợp sẵn trên smartphone của bạn kết hợp với các ứng dụng thu âm cơ bản.
If you don't need technical experience, the smartphone is the most powerful weapon. Microphones on current phones (such as the new iPhone or Samsung) have the ability to filter noise and capture voices quite well. I recorded the first 5 podcast episodes with just an iPhone, covering my head with a thin blanket to block the echo.
That is the most practical and effective way to make a podcast for beginners. You just need to download the Voice Memos app (on iOS) or Dolby On (on Android) to start shooting immediately. Don't be too strict with yourself in the first episodes, naturalness is what keeps listeners engaged.
"Economy" package under 2 million - Significantly upgrade sound with USB microphone
With a budget of less than 2 million VND, you can immediately buy a USB microphone that plugs directly into your computer, helping to clearly improve sound quality without needing to set up complicated wires.
Once you get used to scripting and recording, you'll start to want your voice to sound warmer and more professional. At this time, a recording microphone connected to a USB port (like Fifine K669B, Maono or Samson Q2U) is perfect. You just plug the cable into your laptop and record, absolutely no need for a cumbersome soundcard.
Besides, don't forget to buy a cheap monitoring headset (like KZ's in-ear models) to listen to your voice right while recording. This duo is the perfect and most economical answer for podcasting from scratch.
"Serious" Package - When you want more professional sound quality
The professional package requires XLR microphones, an audio interface and acoustic processing accessories to produce studio-quality sound.
Once your channel starts to gain a steady stream of listeners and you intend to monetize your podcast through sponsorships, consider upgrading to an XLR microphone (like the Audio-Technica AT2020 or Rode PodMic). To use this microphone standard, you are required to equip an additional audio interface (Audio Interface) or mixer (Mixer) to convert analog signals to the computer.
This setup will be more expensive (ranging from 5 to 15 million VND depending on the brand). However, in return, your recording file will be clear, thick and almost free of background noise, providing the most advanced listening experience.
Choose Podcast Hosting - The home for your spiritual children
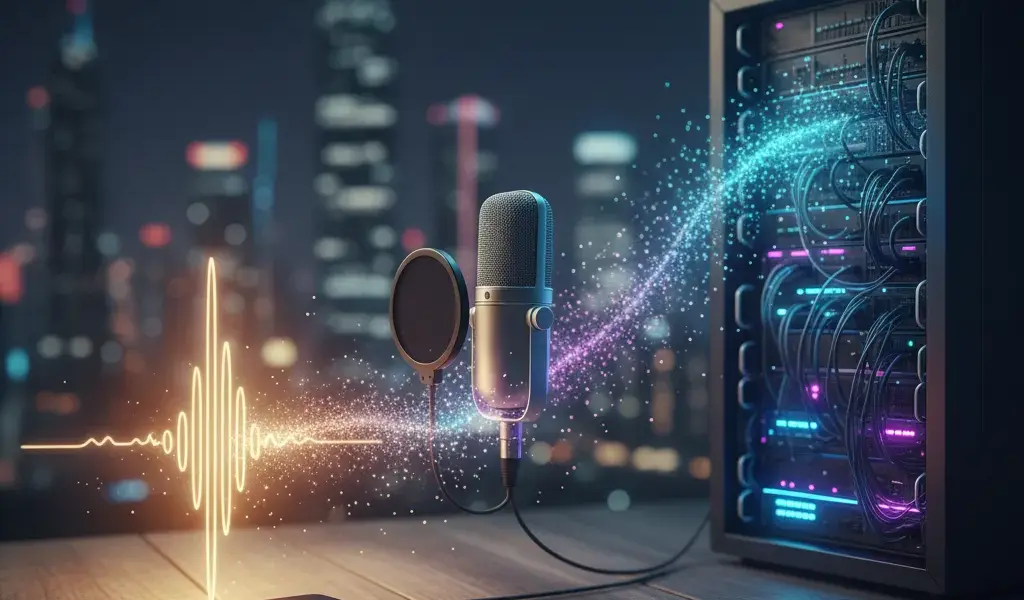
Podcast hosting is a specialized server to archive podcasts and create RSS feed, helping to automatically distribute your audio episodes to major platforms like Spotify or Apple Podcasts.
After recording, you need a safe place to "store" those audio files. This is a decisive step in the podcast journey starting from the device and hosting. Just like building a house requires land, podcasts also need dedicated storage space.
If you are looking to build an additional satellite website to introduce your channel, Choosing suitable hosting for a new website has the same operating principle as choosing a home for a podcast. We need stability and fast transmission speeds.
Why should you not upload audio files directly to the website?
Audio files have a very heavy capacity. If uploaded directly to a personal website, it will exhaust the bandwidth, causing the page to crash and providing a laggy listening experience for the audience.
Many newbies often think that just throwing the .mp3 file straight onto their WordPress site is enough. This is a fatal mistake! Audio files consume a lot of server bandwidth resources. If there are about 100 people listening at the same time, your website will definitely be overloaded and "download".
Speaking of types of web servers, if you wonder Shared hosting vs VPS vs Dedicated, podcast hosting operates like a super powerful content delivery network (CDN) specializing in media files, completely different from regular web hosting.
Best Free Hosting Platforms for Beginners: When Should You Use It?
Spotify for Podcasters (formerly Anchor) is currently the best free podcast hosting platform, perfect for beginners because it has no capacity limit and is extremely user-friendly.
When you first start your creative journey, you don't necessarily need to swipe your card to pay right away. At Pham Hai, we always recommend newbies to try Spotify for Podcasters. This platform is 100% free, automatically generates RSS feed and pushes your channel straight to the largest podcast distribution platforms globally with just one click.
Sometimes you will wonder Should free hosting be used? With business websites, you need to consider carefully because of security, but with Spotify's podcast hosting, it is truly a great and safe launching pad for the content creation community.
When should you think about paying for hosting?
You should upgrade to paid hosting (like Buzzsprout, Podbean) when you need to see in-depth analytics, want to insert dynamic ads, or need to create multiple podcast channels on the same account.
As the channel grows, the basic parameters of the free version will not be enough for you to deeply analyze listener behavior. Paid plans (usually $12 - $20/month) will tell you exactly what minute listeners typically skip, or what geographic region they're from.
This investment is completely worth it if you decide to travel long distance as a real career. To further support the channel's ecosystem, many podcasters also invest in creating their own websites containing transcripts (literal translations). If you plan to build a website in Vietnam, please refer to Top best hosting in Vietnam 2026 to ensure the fastest page loading speed for listeners at home.
5-step process to launch your first Podcast episode
Hướng dẫn tạo podcast từ A đến Z bao gồm 5 bước: Lên ý tưởng, viết kịch bản, thu âm, chỉnh sửa âm thanh và cuối cùng là upload lên hosting để phân phối.
That's enough theory about devices and platforms, now let's roll up our sleeves and start practicing. This is a step by step guide that I have simplified as much as possible. This process will help you completely solve the podcast problem starting from the device and hosting without feeling overwhelmed by the huge amount of technical information.
Step 1 & 2: Come up with ideas and write a "talking" script
Choose a topic niche you're really passionate about and write your script in bullet points instead of prose to keep the most natural reading voice.
The biggest mistake newbies make is writing a detailed script as a writing exercise and then reading it from beginning to end. Listeners will immediately recognize that stiffness and lack of emotion. Imagine you are sitting down to drink coffee and confide in a close friend.
Just write down the main ideas (keywords) you need to say so you don't get off topic. Letting the brain "assemble" words while speaking creates authenticity. It's okay to stumble a little, it makes you look more like a real person than a reading machine.
Step 3: Recording - Tips for home studio
To have a good recording at home, choose a room with lots of soft furniture (such as wardrobes, curtains) to absorb sound, and absolutely avoid recording in empty rooms that cause loud echoes.
Don't have money to make professional soundproofing foam? Do not worry. An open wardrobe filled with items is the best "studio" in your house. Clothing fabrics have the ability to absorb sound extremely well.
When recording, remember to keep a distance of about 1 hand distance from your mouth to the microphone so that the sound does not "pop" when pronouncing the letters P and B. Don't forget to turn off the fan, air conditioner and close the windows to avoid background noise from entering. These tips help optimize your sound quality to be no worse than expensive studios.
Step 4: Audio editing - Free software you cannot ignore
Audacity and GarageBand are the two best free podcast editing software today, providing a full range of tools from trimming, noise filtering to volume normalization.
After recording, it's time to "sharpen" the product. You don't need to buy complicated or expensive audio editing software. If you are using the Windows operating system, Audacity is an open source legend. If you use a Macbook, GarageBand is pre-installed completely free.
You only need to learn the 3 most basic operations: cut out stuttering passages, use the Noise Reduction feature to filter out the whispering sound of the fan, and use Normalize to make the volume level steady, without being loud or soft. Spend an evening watching tutorials on YouTube and you can master it right away.
Step 5: Upload to hosting and distribute to listeners
Export the file in standard MP3 format, upload it to your chosen podcast hosting platform, fill in an attractive title and description and click publish to automatically distribute it everywhere.
The final step of the podcast journey starting from the device and hosting is here. You proceed to export the audio file from the software into MP3 format (choose quality 128kbps or 192kbps to meet the standard for voice).
Next, log in to hosting (eg Spotify for Podcasters), click the upload file button. Prepare an eye-catching square cover art, write a curious title and an attractive summary of the content. Hit the "Publish" button and boom! Your debut podcast is officially on the world audio map.
Don't wait until you have all the expensive equipment or perfect your speaking skills. My real-life experience shows that the worst podcast episode is the one that is never published. Setting up a podcast starting from the device and hosting is actually a lot easier and less expensive than you think. Just start with the phone you have, boldly share your story and perspective. Sound quality and editing skills will improve over time, but inspiration and genuine connection with listeners need to be captured today.
Are you ready? Take out your phone, open the recording app, record a short 60-second intro to the podcast channel you've always wanted and send it to a close friend to show off right now!
Lưu ý: Thông tin trong bài viết này chỉ mang tính chất tham khảo. Để có lời khuyên tốt nhất, vui lòng liên hệ trực tiếp với chúng tôi để được tư vấn cụ thể dựa trên nhu cầu thực tế của bạn.